Friday, October 11, 2013

House Renovation Part 3

House Renovation Part 3

A Farmhouse Restoration


In case you missed my first two posts you can check out Part 1 (here) and Part 2 (here).  After a lot of blood, sweat and tears we finally finished.  All work was by my Dad (who is a contractor) and help from us.  The renovation was spread out over time since he was still working on other (paying) houses. :)  In the end it worked out perfectly since we were able to get a lot of building materials free or at a discount.  The kitchen cabinets we installed were taken out of a house he was working on who decided not to re-install them, etc.  Without further ado,  drum roll please...


Do you remember this?


Half way to finished..


And finally...


Some snapshots from the inside...

Living Room


Family Room


Dining Room


Full Bath


Spare Bedroom No. 1


Master Bathroom


Poor quality photo of the Kitchen


These wall sconces were originally chrome with beaded shades and hanging crystals from Lowes.  I found them on clearance for $3.88 each.  Nothing a little spray paint couldn't fix!


I am constantly changing our furniture layouts, paint, etc.  I love coming up with new DIY ideas and creating them for our home.  Check back for more photos and projects!

Thanks for stopping by!

Thursday, October 10, 2013

House Renovations Part 2

House Renovations Part 2

A Farmhouse Restoration


Thanks for stopping by!  If you haven't already, be sure to check out Part 1 of our Restoration (here)!


Today I'll share with you some pictures taken during the renovation.  Gutting the house took a lot of time...  The family room had two layers of paneling over horse hair plaster.  The living room had one layer of paneling over the same plaster, and the remainder of the house was simply plaster. 

Once we finalized the new floor plan we started putting the house back together.  Our final plan called for 3 bedrooms, 2.5 baths, dining room, living room, kitchen, side hallway and laundry room.  Most of the rooms stayed the same size, we just utilized some of the wasted space.  We did choose to use part of our wrap around porch to gain a half bath, side hallway, pantry and laundry room.  At first I was against taking any space from the front porch ( I loved it!), but in the end it was one of the best decisions we ever made, and our porch is still massive.

The back portion of the wrap around porch had to be completely removed .  While it was off they dug the 'room' underneath deeper and now stores our porch furniture, etc.

Porch being framed out for side hallway, laundry & 1/2 bath


Taking down plaster


All the walls were shimmed before drywall


Only two of the bedrooms had closets.  The existing closets were very narrow and deep.  Another problem we fixed. A closet was added in the third bedroom.


Living Room


New floors being installed


Kitchen cabinets being installed


New porch floor being installed


The one piece showers were too big to fit through the stairs, so an opening was left and they were lifted up through the outside.


A deck was added off of the dining room as well as the master bedroom.


Check back soon for the pictures of the completed project!


House Renovation Part 1

House Renovation Part 1

 For most of my life I drove by the same house everyday.  For  the more recent fifteen years the house sat vacant as I watched it become more overgrown and run down.  So, in 2008 I took action.  I started my investigation to contact who owned the property.  While asking around town several people informed me that the owner would not sell.  He had been contacted numerous times over the years and he refused to sell.   When I contacted the owner it turned out that his wife had passed way a few months prior and he was finally ready to sell.  The house had been her dream and she had always hoped they would move back someday.  My father being a contractor went with me to see the house and checked all the vitals.  The house was free of termites and mold (etc.), the basement was dry, and, most importantly, it was NOT leaning. So began our journey to bring new life to an old farmhouse.

Views from the front of the house when we bought it (July 2008)
 

Yes, there is a house behind there!

The siding was peeling paint and falling off...the house was in rough shape to put it nicely..


The purchase price left us with the money needed for a full renovation.  The house would be completely gutted and rebuilt (stripped to the studs).  Renovations started immediately, beginning with the front shrubs being ripped out and removing the tree that was too close. A gentleman walking by our house one day stopped, turned and said "I never even knew there was a house behind there!"


Shrubs are out..


& the tree is gone!


When I first saw the inside it was dated and worn. Dad said there wasn't any insulation and the windows were single pane, so a full gut was in order. The house originally had 3 bedrooms, 1 bathroom, kitchen, dining room, living room & family room.  Here are a few before pictures..


Dining Room


Family Room


There was a 'hallway' from the living room to the kitchen.  In the middle was the door to the basement as well.  The ceiling was too low for my husband and not wide enough. We eventually moved the basement door and closed the hallway, which allowed for more room in the kitchen & living room.


Check back for Part 2 of our renovation story!

Wednesday, October 9, 2013

Fall Decorating

Fall Decorating

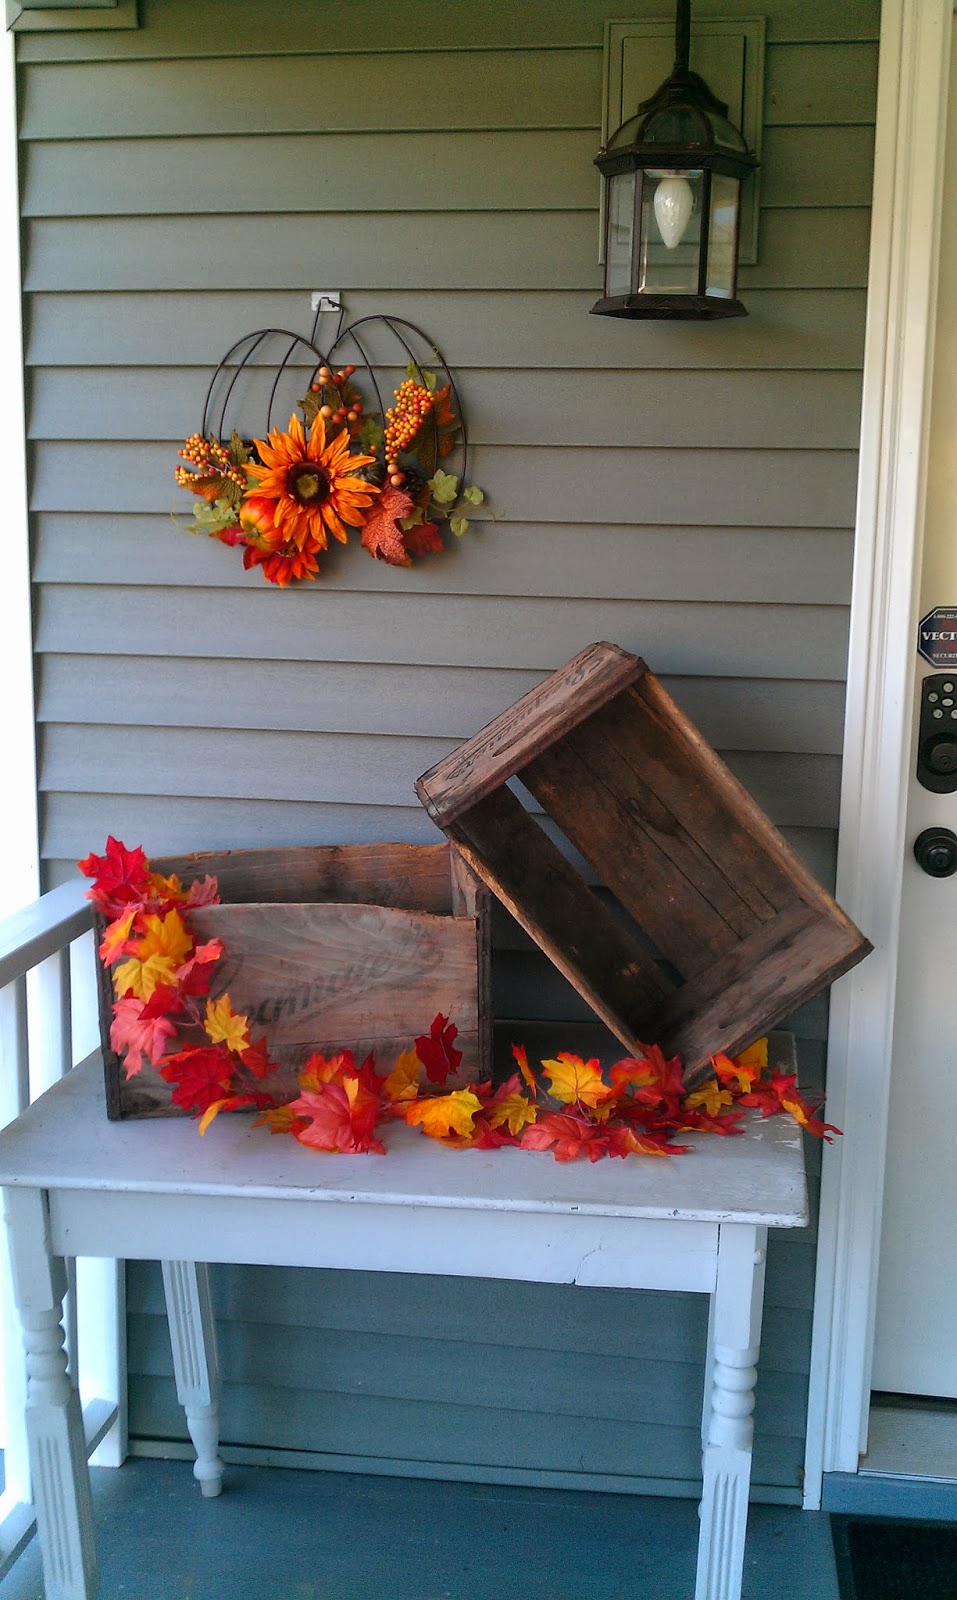
Fall is my absolute favorite time of year.  I want to share a few of my ideas with you.